Monday, December 22, 2008

Double Moss Rib Gauntlets

While trying to decide what to knit for my newly punk, 13-year-old granddaughter for Christmas, I combed the net looking at countless glove, mitten, fingerless mitten, and gauntlet patterns. None had everything that I wanted. I decided that I'd have to write my own pattern, which is posted below.

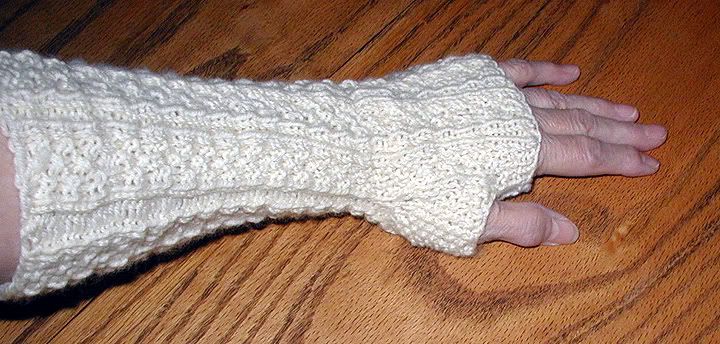
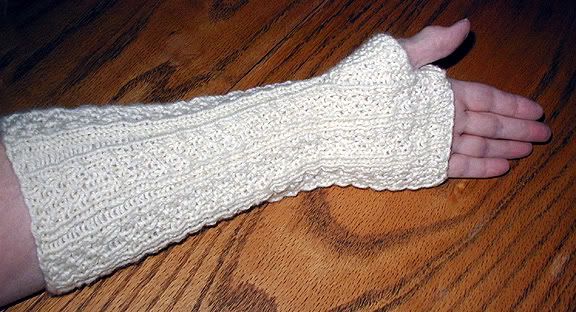
First I knit the gauntlets in a natural color of Cascade 220 Superwash wool yarn and plan on dying them black before I give them to Izzy. I really dislike knitting with black yarn, so this way I could see what I was doing and she still gets her fave black color. The pics below were taking before the dying. Later I will post photos of the gauntlets after dying them.

Below is the pattern I created:

Double Moss Rib Gauntlets
Photobucket

Yarn: Cascade 220 Superwash (or other comparable worsted weight yarn), one skein any color.
Needles: Four each size 6 and 7 DPNs.
Size: 12 inches long, fits a ladies medium to large. To adjust size up or down, either increase or decrease the number of stitches using the 6+1 ratio for pattern, or go up or down a needle size.
Gauge: 18 st = 4 inches using size 7 DPNs.

Using size 7 DPNs, cast on 43 stitches. Arrange stitches on three needles as follows:
Needle 1: 12 st
Needle 2: 18 st
Needle 3: 13 st

Join, being careful not to twist.
Begin working pattern in the round.

Pattern stitch (multiple of 6 +1 st):
Round 1: *p1, k2* Repeat around, end with p1.
Round 2: Repeat round 1.
Round 3: *p1, k1* Repeat around, end with p1.
Round 4: Repeat round 3.

Repeat these four rounds until the cuff is 4 inches long.
Switch to size 6 DPNs.
Work in pattern stitch until piece is 9 inches long.


Thumb gusset:
Round 1: p1, PM, M1, PM, k2, *p1, k2* repeat around, ending with p1.
Round 2: Repeat round 1 of pattern stitch, slipping markers as you go.
Round 3: p1, sl marker, M1, p1, M1, sl marker, k1, *p1, k1* repeat around, end with p1.
Round 4: Repeat round 3 of pattern stitch, slipping markers as you go.

Repeat these four rows, working sts between the markers in single moss stitch (k1, p1. Each row after that knit the pearl sts and pearl the knit sts) until there are 15 sts between the markers. (58 sts)

P1, BO 15 sts, k2, *p1, k2* repeat around, ending with p1. (43 sts)

Join into round over thumb gusset. Pull first stitches fairly tight too minimize gap. You may have to go back after you are done and sew up the small hole that is left. Begin pattern stitch again, starting with round 2.
Work in pattern stitch until piece from end of thumb gusset bind-off is 1.5 inches long.

Bind off all stitches in pattern.
Work in ends.
Make another one the same as the first.
Wear and enjoy!

GLOSSARY
St(s) = Stitch(es)
DPN = Double-point needles
P = Pearl
K = Knit
PM = Place marker
M1 = Make one stitch (increase) by picking up the top loop between last stitch knitted and next stitch, placing it on the left needle, and knitting it.
Sl = Slip
BO = Bind off stitches
* * = Repeat the instructions that are between the two * the number of times indicated or to the end of the round.
Photobucket

Saturday, July 01, 2006

A Beginning

It all started with a baby. I guess lots of things do, don't they? But I'm getting ahead of myself. Years ago I used to knit clothes for my Barbie dolls, but when I grew up and away from dolls and toys, knitting was also left behind. Years went by and I felt myself yearning to create something. With a $2 instruction book and a G hook, I taught myself to crochet. Over the next two years, everyone in my family was graced with their own afghan (14 in all), slippers, mittens, hats, scarves, and all manner of crocheted items.

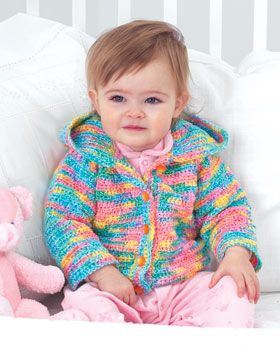
Then last winter a friend from church was expecting a baby. I began searching online for a pattern for something to crochet for the baby. A Bernat hoody caught my eye and informed me it was meant to be the little one's gift.


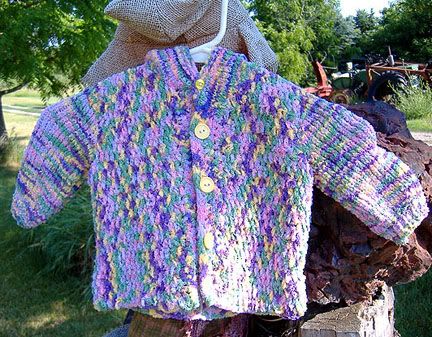
I bought the yarn and crocheted the body of the hoody. When it came time to make the sleeves, the fabric seemed too open and was sure to catch on little fingers as they went through. So I dug out an old pair of knitting needles and cast on the sleeves, then the hood (if baby needs a hood, then baby needs a warm hood!) and knit them. The hoody turned out all right but did look a little strange, with its crocheted body and its knit sleeves and hood.

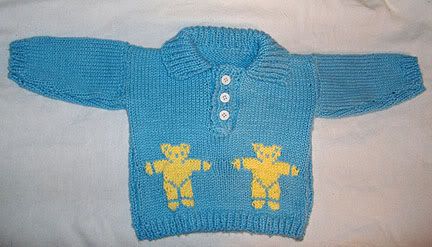
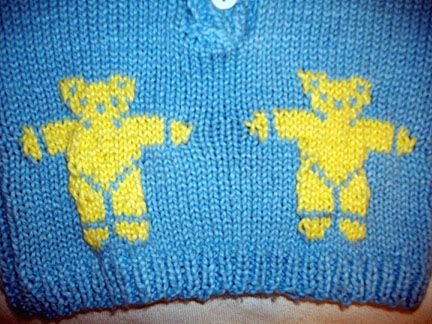
So the hoody went in the closet. By this time the baby had been born, a beautiful little boy. I had also found another pattern I wanted to use, this time all in knit. There were a few small problems though. The pattern was for a Henley-type shirt with a collar, button tab, and to further complicate matters, two bears to knit into the front of the sweater, with a graphic chart--which was another thing I had never done.

It took most of a week,and there was some frogging and starting over, lots of counting, recounting, and a bit of under-the-breath swearing, but the bear shirt was finished in time for the baby shower after church the next Sunday. Sure, the bears bulged out a little because I held the tension too tight but they actually looked like bears and the shirt was in the right proportions for a baby of about three to six months of age. The mom was thrilled and everyone commented on the cute shirt.


Thus a knitting monster was born, one who pounces on yarn sales, downloads hundreds of patterns she wouldn't have the time to knit even if she lived to the age of 200, and answers questions with "just a sec, I'm counting" and "I'm ready to go, I just have to finish this one row", and "Too much yarn? Do you really think so?" A monster who can't figure out why her dearly beloved would even mention returning the yarn that was left over from that sweater or that shawl. Who returns yarn anyway? As an added bonus, this knitting monster discovered that she could sometimes even knit the blues away.

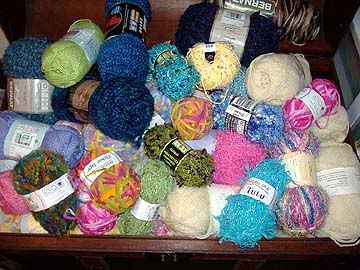
She can be found most evenings in the living room sitting at the right end of the sofa, just next to the trunk full of yarn, needles in hand, doing what knitting monsters everywhere do best.

More later, friends...if I can just put those needles down long enough...